Deploy an EmDash Site on Code Capsules
EmDash is a CMS built on top of Astro. It stores your content schema in a SQLite database, serves content via live collections, and provides a full admin UI at /_emdash/admin. Because it uses a local SQLite file for its database and a local directory for media uploads, deploying it to Code Capsules requires a Persistent Storage Capsule to keep that data alive across deploys and restarts.
In this tutorial, we'll configure an EmDash Astro project for production, push it to GitHub, create a Backend Capsule and a Persistent Storage Capsule on Code Capsules, bind them together, and access the live admin panel.
Prerequisites
Before starting, make sure you have:
- A Code Capsules account
- A GitHub account with your EmDash project repository ready to push
- Node.js 22 or later installed locally
- An EmDash Astro project (using the
@astrojs/nodeadapter in standalone mode)
Configuring Your Project for Code Capsules
Code Capsules injects a PERSISTENT_STORAGE_DIR environment variable into your capsule when a Persistent Storage Capsule is bound to it. This variable contains the absolute path to the mounted storage volume. We need to point both the EmDash SQLite database and the media uploads directory at paths inside this volume.
1. Update astro.config.mjs
Open your astro.config.mjs and update the emdash() integration config to read PERSISTENT_STORAGE_DIR at build/startup time, falling back to local defaults when the variable is not set:
import node from "@astrojs/node";
import react from "@astrojs/react";
import { defineConfig } from "astro/config";
import emdash from "emdash/astro";
import tailwindcss from "@tailwindcss/vite";
import path from "node:path";

const storageDir = process.env.PERSISTENT_STORAGE_DIR;
const dbUrl = storageDir ? `file:${path.join(storageDir, "data.db")}` : "file:./data.db";
const uploadsDir = storageDir ? path.join(storageDir, "uploads") : "./uploads";

export default defineConfig({
  output: "server",
  adapter: node({ mode: "standalone" }),

  integrations: [
    react(),
    emdash({
      database: {
        entrypoint: "emdash/db/sqlite",
        config: { url: dbUrl },
        type: "sqlite",
      },
      storage: {
        entrypoint: "emdash/storage/local",
        config: {
          directory: uploadsDir,
          baseUrl: "/_emdash/api/media/file",
        },
      },
    }),
  ],

  vite: {
    plugins: [tailwindcss()],
  },
});
When PERSISTENT_STORAGE_DIR is set (e.g. /persistent), EmDash will use /persistent/data.db for the database and /persistent/uploads for media. Locally, it falls back to ./data.db and ./uploads as normal.
2. Create the Bootstrap Script
EmDash's emdash init command runs database migrations and emdash seed seeds initial content and schema. Both are idempotent — migrations track their own state and seed conflicts default to skip — so it's safe to run them on every startup.
The CLI commands take a --database flag for the database path, which we need to set from the environment variable. Create scripts/bootstrap.mjs at the root of your project:
import { execSync } from "node:child_process";
import path from "node:path";

const storageDir = process.env.PERSISTENT_STORAGE_DIR;
const dbPath = storageDir ? path.join(storageDir, "data.db") : "./data.db";
const uploadsDir = storageDir ? path.join(storageDir, "uploads") : "./uploads";

execSync(`emdash init --database ${dbPath}`, { stdio: "inherit" });
execSync(`emdash seed --database ${dbPath} --uploads-dir ${uploadsDir}`, { stdio: "inherit" });
3. Update package.json
Wire up the bootstrap script and configure EmDash's seed file location so the CLI can find it automatically. Add or update the following in your package.json:
{
  "engines": {
    "node": ">=22.0.0"
  },
  "scripts": {
    "postinstall": "npm run build",
    "dev": "astro dev",
    "build": "astro build",
    "start": "node dist/server/entry.mjs",
    "prestart": "npm run bootstrap",
    "bootstrap": "node scripts/bootstrap.mjs",
    "seed": "emdash seed"
  },
  "emdash": {
    "seed": "./seed/seed.json"
  }
}
Here's what each script does on Code Capsules:
postinstall— runsnpm run buildautomatically afternpm install, so Code Capsules gets a production build without a separate build step.prestart— runs beforenpm start, ensuring the database is initialised and seeded on every deployment.bootstrap— delegates toscripts/bootstrap.mjs, which uses the correct env-aware paths.emdash.seed— tells theemdash seedCLI where to find your seed file so you don't need to pass the path as an argument every time.
4. Push to GitHub
Commit all changes and push to your GitHub repository:
git add astro.config.mjs scripts/bootstrap.mjs package.json
git commit -m "Configure EmDash for Code Capsules deployment"
git push
Deploying to Code Capsules
5. Create a Backend Capsule
Log in to your Code Capsules account, navigate to your Space, and click the yellow + button, then select New Capsule and choose Backend Capsule.
- Connect your GitHub repository if you haven't already.
- Select your repository and branch.
- Leave the Run Command field blank — the
prestartscript andpackage.jsonhandle everything. - Click Create Capsule.
Code Capsules will run npm install (which triggers postinstall and builds the app), then npm start (which triggers prestart to bootstrap the database before starting the server).
6. Create a Persistent Storage Capsule
While the Backend Capsule builds, create the storage volume. Click the yellow + button again, select New Capsule, and choose Persistent Storage.
Select your preferred size and click Create Capsule.
7. Bind the Persistent Storage Capsule
Navigate to your Backend Capsule and click the Config tab. Scroll down to the Bind Data Capsule section, where your Persistent Storage Capsule will appear.
Click Bind.
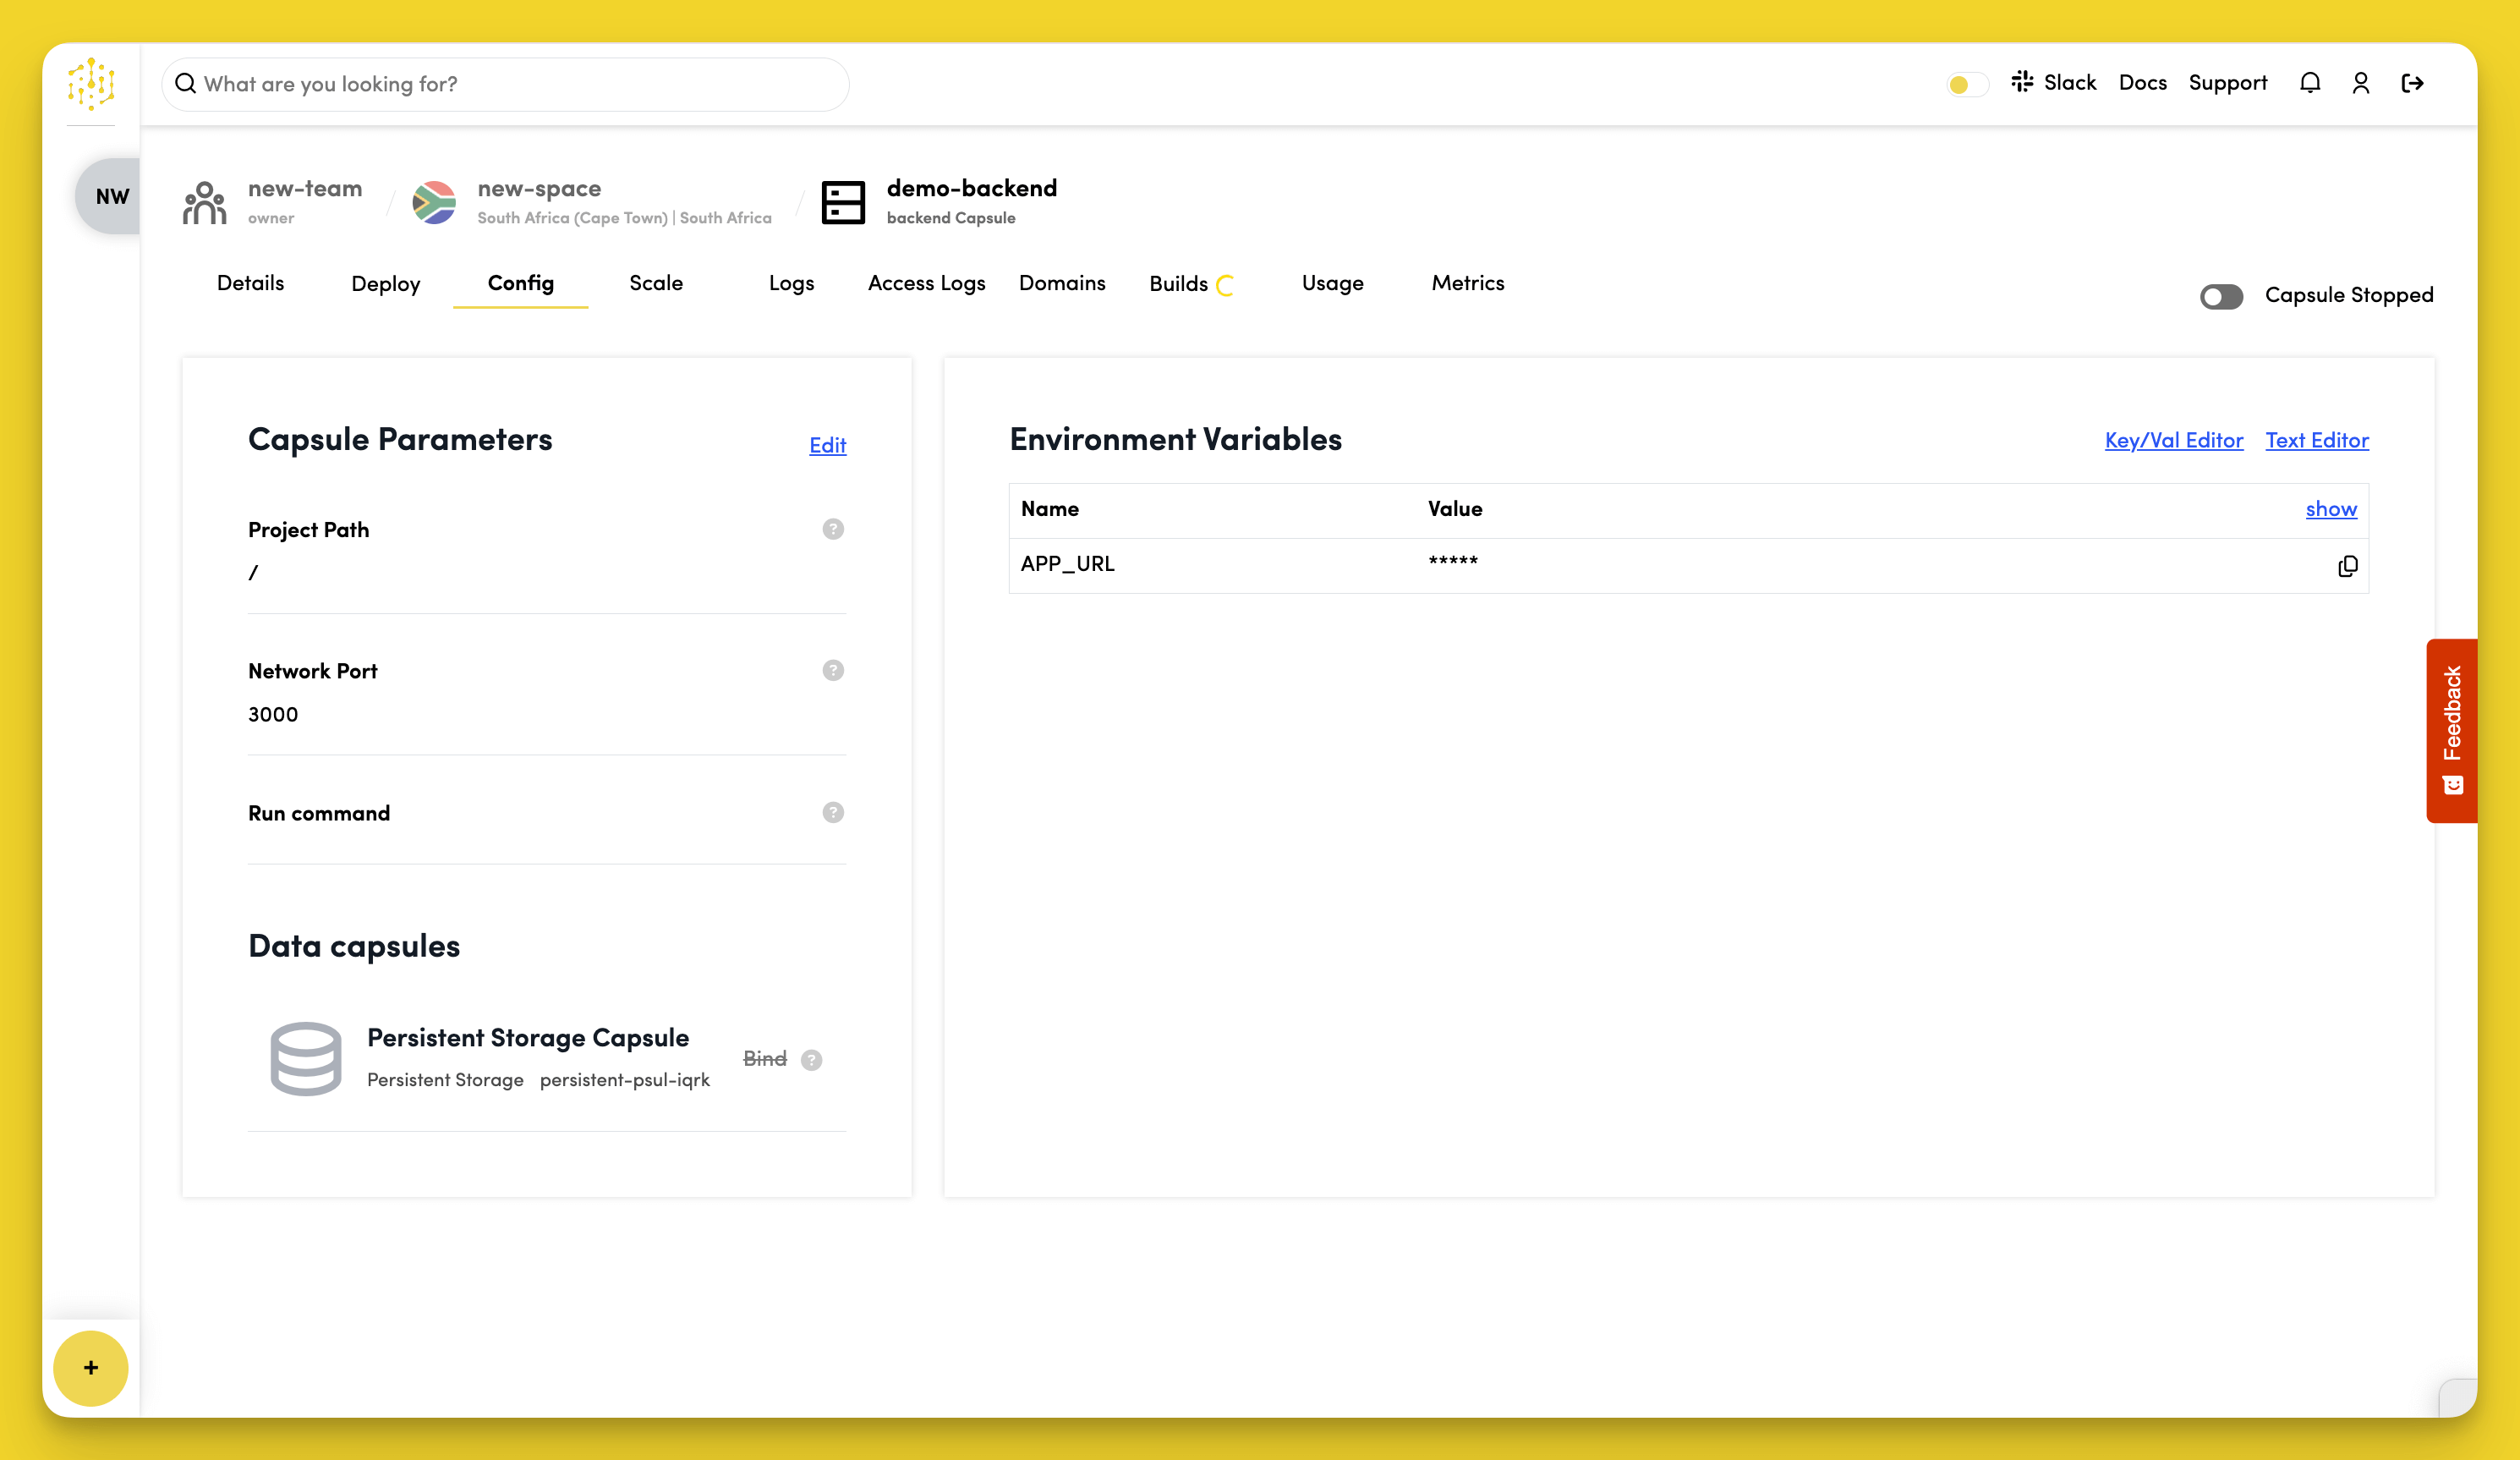
Code Capsules will inject the PERSISTENT_STORAGE_DIR environment variable into your Backend Capsule and restart it. The restart triggers prestart, which runs the bootstrap script against the persistent volume for the first time — creating the database, running migrations, and seeding your schema and content.
The Persistent Storage Capsule must be bound before the first successful start. If your Backend Capsule started before binding, trigger a manual restart from the Overview tab after binding.
8. Access the Admin Panel
Once the capsule is running, find your capsule's URL in the Overview tab. The EmDash admin panel is at:
https://your-capsule-url.codecapsules.space/_emdash/admin
Log in with the credentials set in your seed file, and you're live.
What Happens on Each Deploy
When you push new code to GitHub and Code Capsules rebuilds your capsule, the sequence is:
npm install→postinstall→astro build(fresh production build)npm start→prestart→scripts/bootstrap.mjsemdash initruns migrations (skips if already up to date)emdash seedapplies the seed file (skips existing records by default)
node dist/server/entry.mjsstarts the server on thePORTprovided by Code Capsules
Your database and uploaded media persist across all deploys in the Persistent Storage volume.